The FireSmart Home Checklist for Canadian Homeowners
By True North Eaves · Updated June 27, 2026
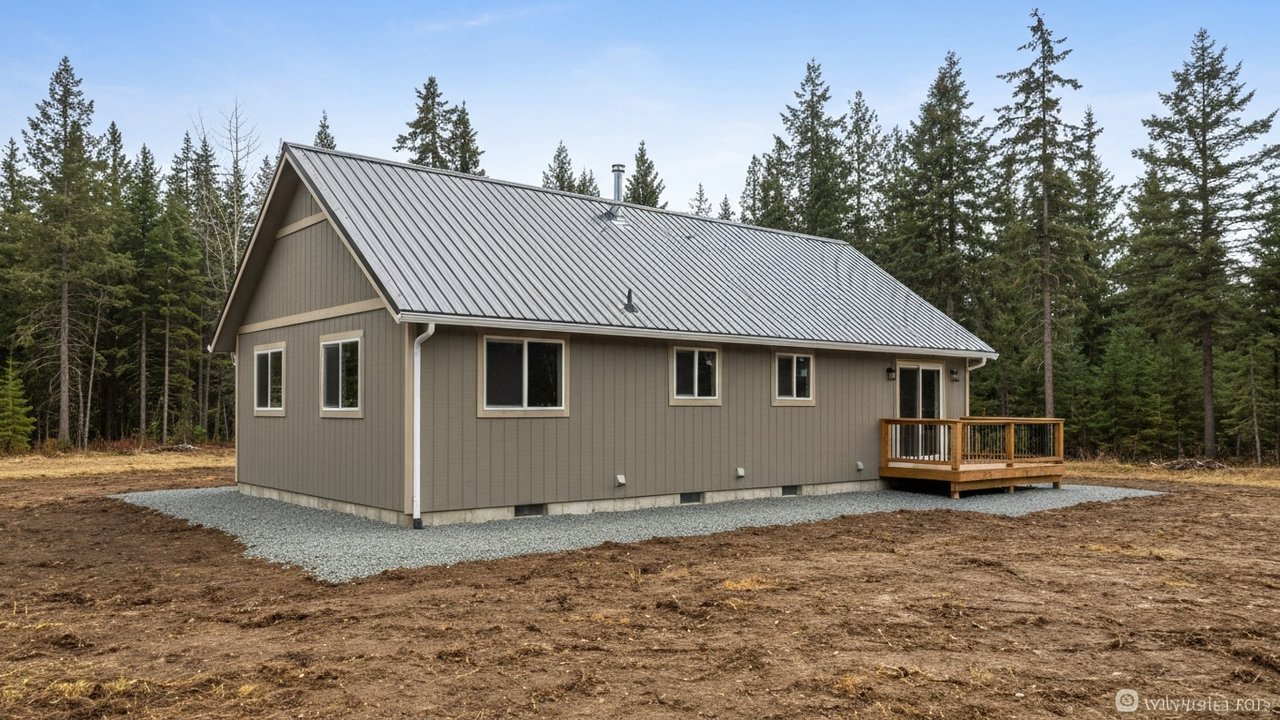
What FireSmart Canada actually means for your home
FireSmart Canada is a national program that works alongside provincial initiatives (FireSmart Alberta, BC Wildfire Service home-hardening guides, and others) to help homeowners reduce their property’s ignition potential. The insight behind the whole system is counterintuitive to most people: the majority of homes destroyed in wildfires do not burn because the fire front rolled through them. They ignite from airborne embers that travel ahead of the fire, sometimes kilometres ahead, landing on combustible surfaces around and on the home.
That shift in thinking changes the checklist. You are not trying to build a wall against an approaching fire. You are trying to make every surface that an ember might land on as inhospitable to ignition as possible.
Zone 1: Your home and the immediate zone (0 to 1.5 metres)
This is where your time goes first. If you can only address one zone, make it this one.
Roof and eavestroughs. The roof is your largest ember-catching surface. Composite or metal roofing material resists ignition better than older wood shingles. More immediately actionable: clean your eavestroughs and roof valleys before wildfire season. Dry leaves, pine needles and shingle grit packed into an eavestrough (gutter is the American term most Canadians also use) make an ideal ember nest. A glowing ember landing in a clogged trough can smoulder, catch, and then travel into wall cavities or the attic through gaps at the roofline. Post-fire forensic surveys consistently name clogged eavestroughs as one of the most common ignition pathways in structure fires that precede the main fire front.
Vents. Foundation vents, soffit vents and attic vents are open doors for embers. Retrofitting them with 1.6 mm metal mesh stops embers from entering the structure while still allowing the airflow your attic needs. This is a high-impact upgrade and within reach of most handy homeowners on a weekend.
Windows. Single-pane glass can crack from radiant heat before a fire even arrives, letting embers through the gap. Tempered or double-pane windows handle radiant heat considerably better. If full replacement is not on the table, exterior shutters rated for fire exposure are an intermediate option.
The 1.5-metre non-combustible zone. Nothing combustible should be sitting tight against the house. Wood mulch, bark mulch, and dead plant material against a wood-sided wall are hazards. Replace those strips with stone, gravel, concrete or bare soil. It sounds minor but this zone represents where embers dwell after landing, and removing combustible material from it means they have nowhere to go.
Deck and porch. Wood decks accumulate debris in the board gaps and underneath the structure, which is where embers collect and smoulder out of sight. Before and during fire season, keep the deck surface swept and remove anything stored under a wood deck. Composite decking performs better than untreated wood, though no decking material eliminates ignition risk completely.
Zone 2: The intermediate zone (1.5 to 10 metres)
This zone is about the landscaping and trees immediately surrounding the house. The goal is to reduce how readily fire can travel from the yard to the structure.
Garden beds near the house. Non-combustible mulch (stone, gravel, crushed rock) is the right choice in this zone. Wood or bark mulch farther out is lower concern, but keep it watered during dry spells if you use it.
Trees and shrubs. Junipers and cedars are highly resinous and should not grow against the wall of a home in a wildfire-risk area. Remove or significantly cut back any shrubs within three metres of the house. For larger trees in this zone, prune the lowest branches so the first live limb is at least two metres off the ground. This eliminates ladder fuels, the low vegetation that lets a ground fire climb into the crown.
Outbuildings. Sheds and detached garages in this zone can serve as stepping stones that carry fire to the house. Apply the same Zone 1 logic to their immediate surroundings: non-combustible material at their foundations, no combustible clutter against their walls.
Zone 3: The extended zone (10 to 30 metres)
This zone is about slowing fire’s approach and reducing its intensity before it reaches the inner zones.
Tree spacing. Crowns should not be touching. FireSmart guidance calls for at least two to three metres of separation between tree crowns in this zone. A crown fire moves through touching crowns. Break that connection and you interrupt the pathway.
Remove dead material. Dead standing trees and dead shrubs are high-hazard fuel. Prioritise removal on the side of the property that faces prevailing fire-weather winds for your area.
Mow grass. Dry grass transmits fire faster than most people expect. Keep it mowed during fire season, especially the areas closest to the home. A well-watered lawn is slower to ignite than a dry one.
Eavestroughs: the checklist item most homeowners miss
Every wildfire researcher who studies how structures actually ignite eventually points at eavestroughs as the most consistently underestimated risk. The logic is simple: a clogged eavestrough filled with dry debris sits along the roofline where embers tend to gather. One ember can start something smouldering inside the trough. If it catches, the fire travels along the roofline and into the connections between the walls and the roof structure.
This is covered in detail in FireSmart and your eavestroughs if you want to go deeper. The short checklist item is: clear them before wildfire season and keep them clear through it.
If your property has significant tree cover and manual cleaning is not keeping up, a stainless micro-mesh gutter guard system removes the debris question almost entirely. LeafFilter gutter protection installs over your existing eavestroughs and keeps needles, leaves and grit out while passing water through. The existing troughs are cleaned, realigned and sealed as part of that installation. Book a free assessment to see whether it makes sense for your roofline.
FireSmart grants and home assessments
FireSmart Canada and several provincial programs offer direct support for homeowners who want to work through this list. Depending on your province and municipality, there may be grant funding for specific measures, as well as free or subsidised FireSmart Home Assessments where a trained professional walks your property and flags the highest-priority items. The programs change and have varied eligibility, so it is worth checking what is active where you live. FireSmart grants and rebates in Canada has a current overview of what is available nationally and by province.
Frequently asked questions
Do I need to complete all three zones at the same time?
No. Zone 1 is where to start if resources or time are limited. Getting the home itself and its immediate surroundings to a non-combustible, ember-resistant state delivers the most protection per hour of effort. Zones 2 and 3 reduce fire intensity as it approaches, but Zone 1 determines whether the house ignites at all.
Is there an official FireSmart checklist I can download?
Yes. FireSmart Canada publishes a homeowner checklist through their national website. Provincial equivalents often go deeper on local tree species and conditions specific to your region. The FireSmart Home Assessment program can also send a trained assessor to your property to walk through the checklist with you in person, which is worth doing if you are not sure where to prioritise.
How often should I clean my eavestroughs for wildfire preparedness?
In areas with tree cover, cleaning at least once a year is practical. Twice a year is better: once in fall after leaves drop, and again in spring before the dry season peaks. The key timing is having them clear going into summer, when fire risk is highest. If your trees shed heavily and in-season clogs are common, a micro-mesh guard system is worth considering so the question largely takes care of itself.
Can completing the FireSmart checklist affect my home insurance?
In some cases, yes. Several Canadian insurers have begun factoring documented wildfire-mitigation work into premiums or coverage eligibility, particularly in Alberta and British Columbia where wildfire risk has become a significant pricing consideration. Ask your insurer specifically what documentation they want, since programs and requirements vary. Getting a formal FireSmart Home Assessment on record is one of the clearest ways to document the work you have done.
Want this looked at on your own home?
Book a free, no-obligation in-home assessment.
Book my free assessment →